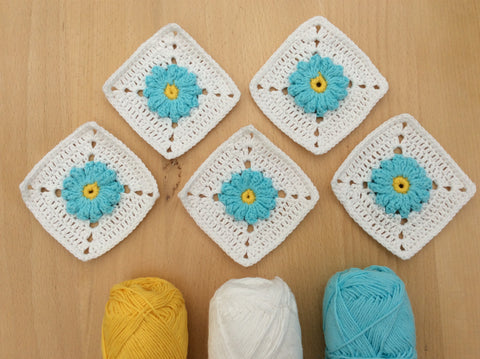
The Meadow Mystery CAL Clue #5
Posted by Sharon Oldfield on
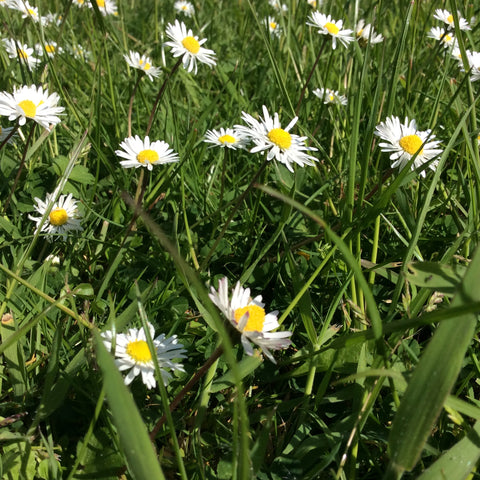
I love Daisies, they are my all time favourite summer flower (Daffodils being my favourite Spring flower of course!), from the tiny little wild ones that grow in the lawn right up to the tall and proud Shasta Daisies that grow in traditional cottage style herbaceous borders.
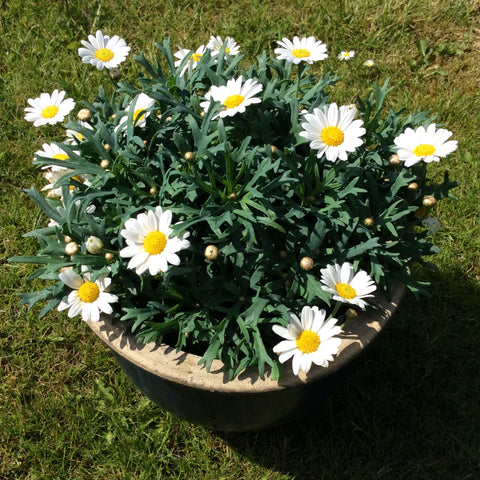
I've not got any Shasta Daisies growing in my garden yet, it's on the list though, to add sometime this summer. In the meantime, I am more than content with my recent Marguerite acquisition from the local supermarket.
My absolute favourite daisy though, is the Ox-eye Daisy that grows at the side of the road, randomly seeding itself wherever it fancies, with complete freedom, my kind of flower. The Daisy symbolises innocence, purity and new beginnings. With all this daisy love I was delighted, although not in the least bit surprised, to discover that there was to be a daisy in the Meadow Mystery CAL blanket. Here's my notes for the Daisy square:


 MY CAL NOTES: Clue #5 - The Daisy
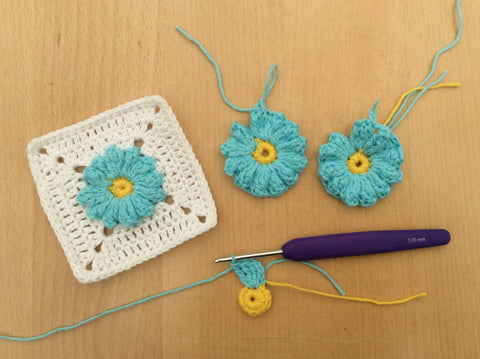
For some reason it took me three daisies before it dawned on me how to avoid the yellow streak creeping into the petal round.
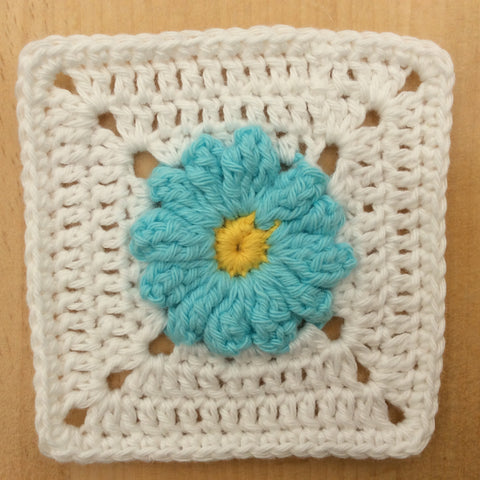
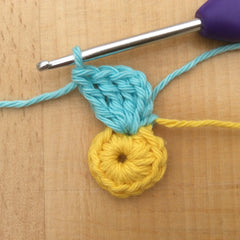
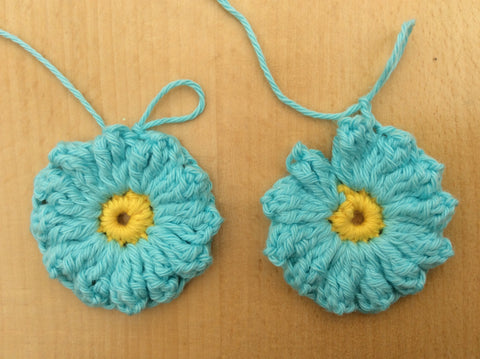
The pattern suggests changing colour at the end of round one on the final slip stitch, this is usually a technique I would use, but in this instance the yellow poking out between the petals was too obvious for me. I am not however, obsessed or distracted enough with this minor 'flaw' in my work to be pulling them all back and starting again. Lets face it when the whole blanket is made it will hardly be noticeable, who's looking that closely? On the other hand, I did want to at least try to make amendments, just out of curiosity and of course for the challenge! Here's how I did the last two daisies:
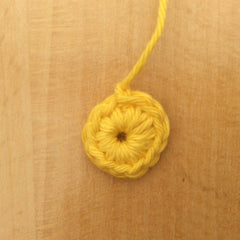
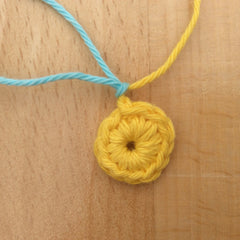
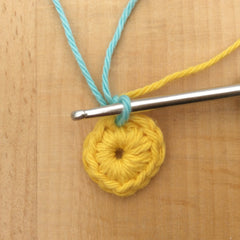
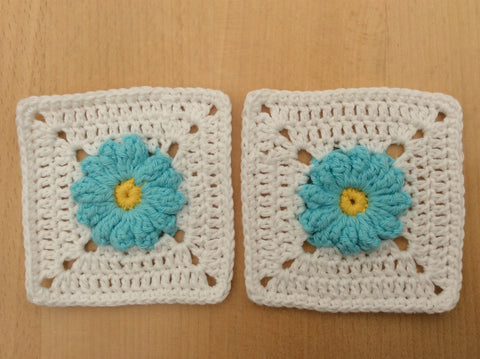
It was quite simple really! I fastened off completely at the end of Round 1, tied on the new colour and pulled a loop though, then continued with the ch4, 3dtr etc. There you go, once Round 2 is complete, no more yellow bit sticking out between the petals. Happy days! The 'improved' Daisy is the one on the left in the picture below.


This time it is on the right! (below)


 Footnote:
Also, on Round 1, I chose to ch1, then dc 12 into the ring, rather than dc 11. I then ignored the initial ch1 and slip stitched into the top of the first dc. This is just an alternative method of achieving the same outcome as when you, ch1, dc 11, then ss into the initial ch1. I personally prefer to have 12 solid dc stitches, rather than one being made up from the ch1 and the ss. I have mentioned this as I get asked about which way is correct in my crochet classes quite frequently. The truth is either way is correct as long as you end up with 12 stitches to crochet into on the next round, the important thing is NOT to ch1, dc 12, then slip stitch into the ch1, this way you will end up with 13 stitches.


Happy Hooking!

 Here's your handy links for The Meadow Mystery CAL
 Sign up for the CAL here
 Buy CAL packs or create your own colour scheme here
 Clue #5 - The Daisy photo tutorial and supporting videos

Share this post
- 0 comment
- Tags: The Meadow
0 comment

