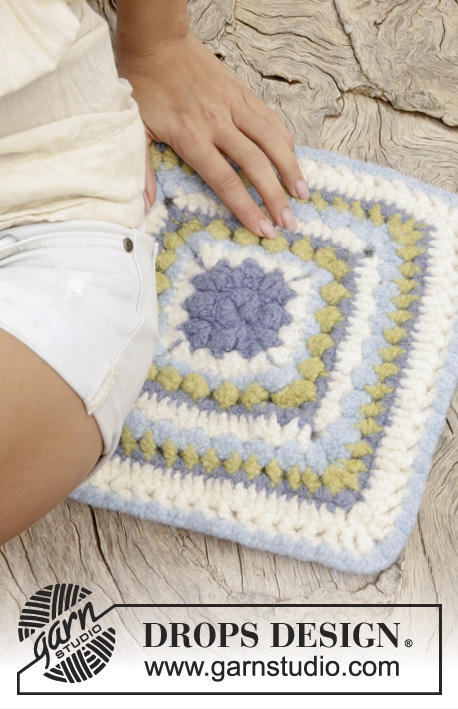
Felting Fever ~ Crochet Basket
Posted by Sharon Oldfield on
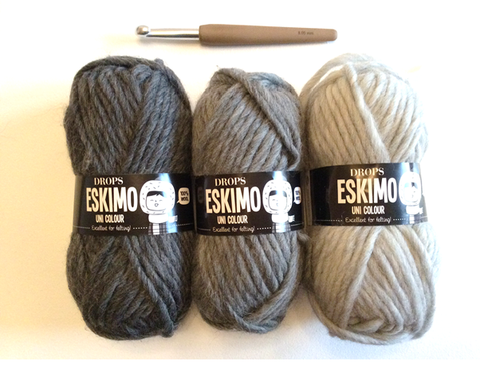
I love, love, love working with DROPS Eskimo! Its chunky, quick to work up and best of all felts in the washing machine beautifully. If you have always fancied having a go at felting, but feel a little uncertain as to whether it will work, this is the project for you. I have designed a very simple basket pattern, that will allow you to have a go at whipping up a quick project that will felt perfectly. At the end of this post I will link to more fabulous felting patterns to try. Hope this basket inspires you to have a go! Especially as Eskimo is currently 30% off in the Felting Fever DROPS Promotion!


Pattern Notes
You will need:- 8mm crochet hook
- 3 balls DROPS Eskimo
- Small scissors
- Darning/knitters needle
- Stitch marker
- ch - chain
- dc - double crochet (UK terminology)
- ss - slip stitch
This pattern is worked in a spiral, from the base upwards.
Use a stitch marker to mark the first dc in each round.
Increase stitches by adding two double crochet stitches into one stitch
Magic Ring – Hold tail end in the left hand and make an anti-clockwise loop around left index finger. Hold the loop with left thumb and index finger. Insert hook through loop, pull yarn from ball through loop, yarn over and pull loop through – magic loop complete. Tail end should be on the left as you start to work into the ring. Work the stitches from round 1 over the tail.


Basket/Container Pattern
Begin with darkest shade of grey.
Create a magic ring
Round 1: Ch1, (does not count as a stitch), 6dc into magic ring [6sts]

Round 2: 2dc inc into each stitch all the way around [12 sts]
Round 3: (2dc inc into next stitch, 1 dc into next stitch) 6 times [18sts]
Round 4: (2dc inc into next stitch, 1 dc into each of the next 2 stitches) 6 times [24sts]
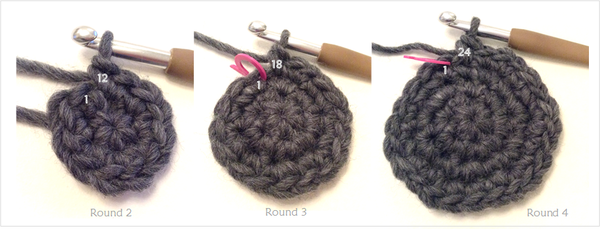
Round 5: (2dc inc into next stitch, 1 dc into each of the next 3 stitches) 6 times [30sts]
Round 6: (2dc inc into next stitch, 1 dc into each of the next 4 stitches) 6 times [36sts]
Round 7: (2dc inc into next stitch, 1 dc into each of the next 5 stitches) 6 times [42sts]
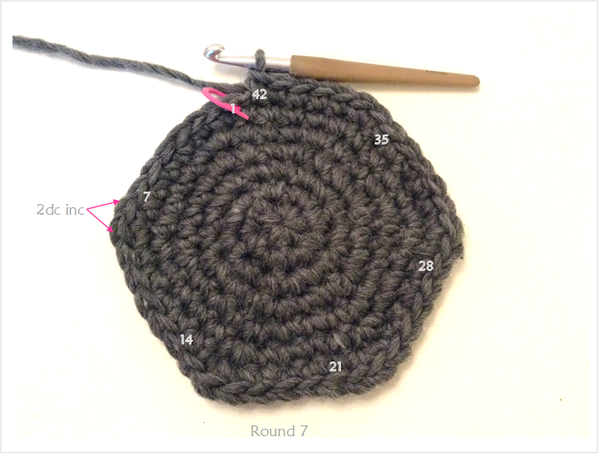
Round 8: (2dc inc into next stitch, 1 dc into each of the next 6 stitches) 6 times [48sts]
Round 9: (2dc inc into next stitch, 1 dc into each of the next 7 stitches) 6 times [54sts]
Round 10: (2dc inc into next stitch, 1 dc into each of the next 8 stitches) 6 times [60sts]
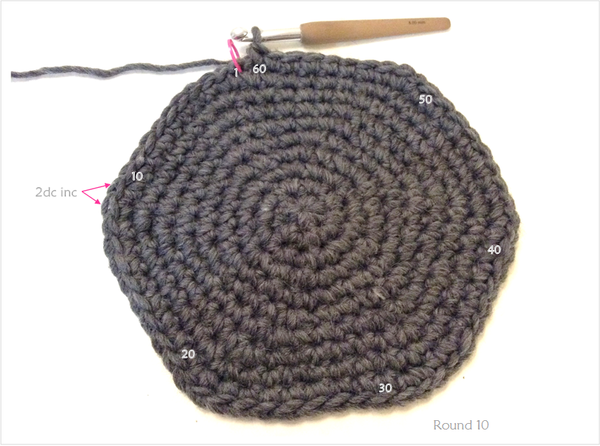
Your work will be looking like a hexagon by now. The next round will not include any increases so by the end of the round your basket base should look circular.
Round 11: 1dc into each stitch, all the way around the basket base [60sts]
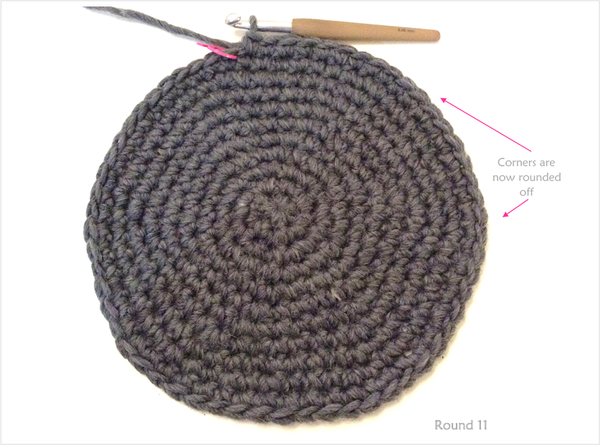
In Round 12 you will be creating Camel Stitches all the way around the base of the basket in order to create a 90 degree edge.

In order to create a camel stitch you dc into the 'third loop'. The third loop sits behind the back loop. To find it; identity the front and back loop, tip your work towards you and you will find the 'third loop' sitting just behind the back loop.

Round 12: 1dc into the 'third loop' of each stitch all the way around the basket base, changing colour to medium grey on the last yarn over of the last stitch [60sts]
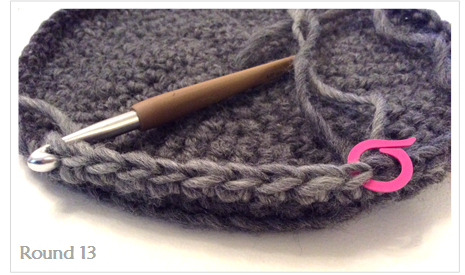
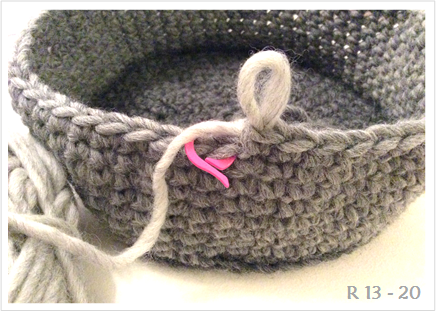
Round 13 - 20: Using Medium Grey 1dc into each st (change to light grey during the final yarn over of the last stitch on Round 20) [60sts]
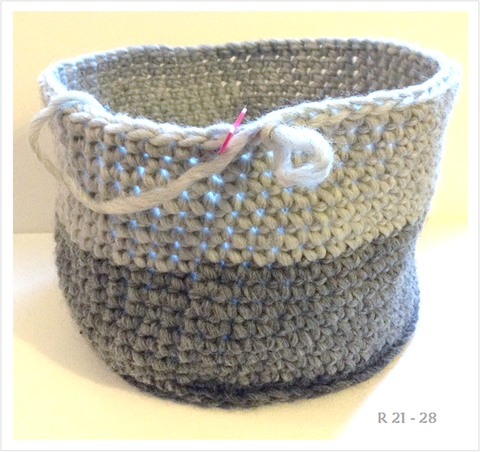
Round 21 - 27: Using Light Grey 1dc into each st [60sts]
28 Final Round: dc into each stitch until the last stitch, ss into last stitch.
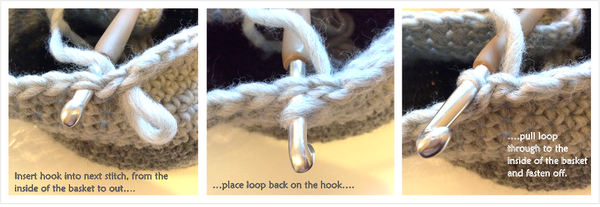
Fasten off by removing hook and inserting it into the next stitch from the inside of the basket to the outside. Place loop back on the hook and pull it through to the inside of the basket. Fasten off as usual and darn in all ends.
You could use the basket as it is;
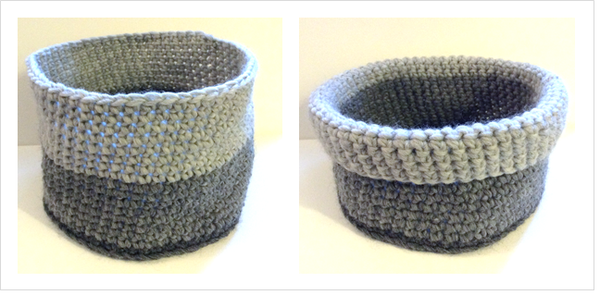
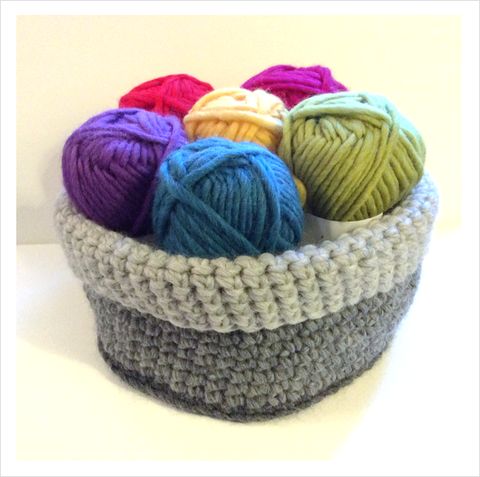
OR pop it in the washing machine on a 40 degree wash so that the fibres can felt together to create a stronger container! This is the fun bit! Why not give it a try?
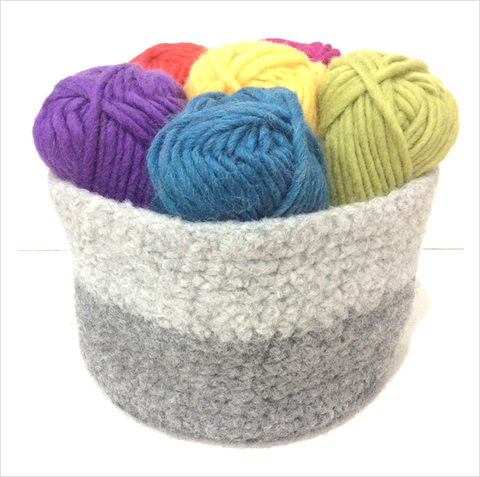
The basket/container will shrink by approximately a third of its size. If you are not happy with the felting process, simply put it back in the washer for a second time.
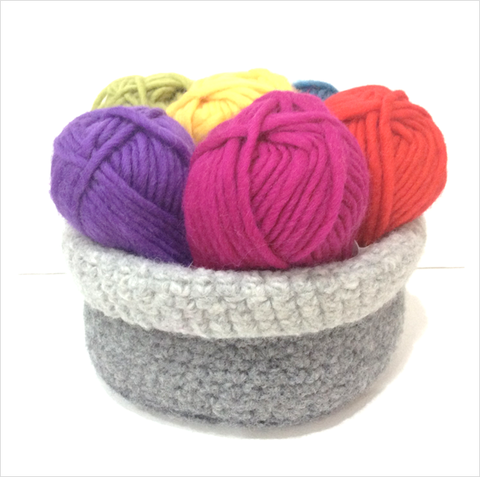
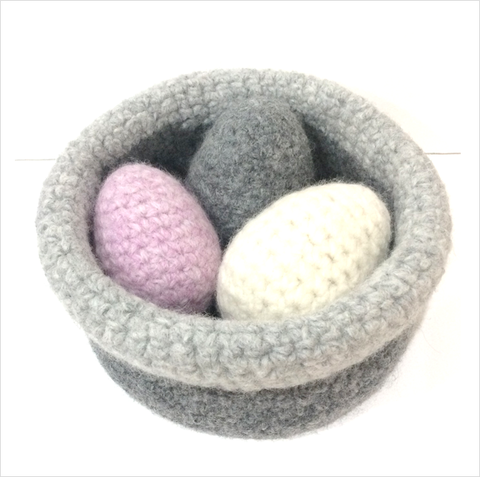
Felted Basket Kit now available on the Cotton Pod website.


More felting projects from DROPS Design:
Share this post
0 comment


