Spring Wreath ~ Crochet Tutorial
Posted by Sharon Oldfield on

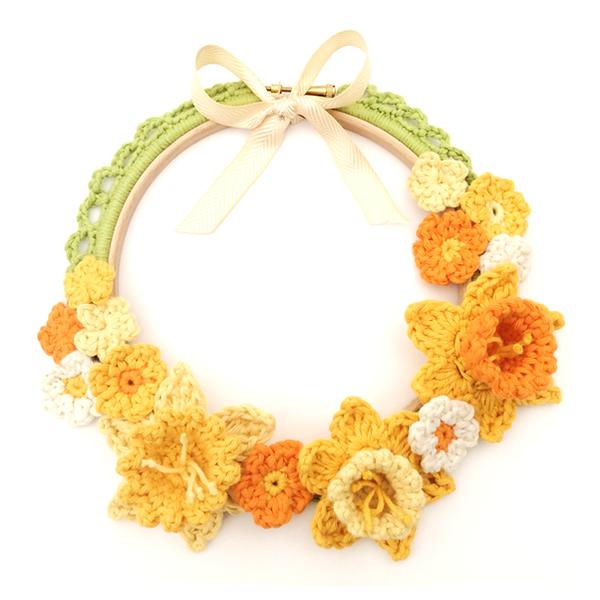
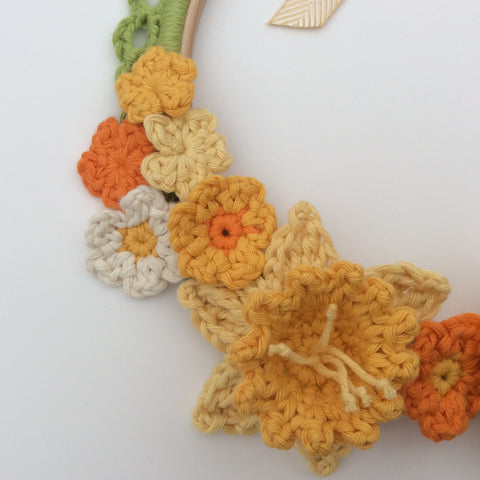
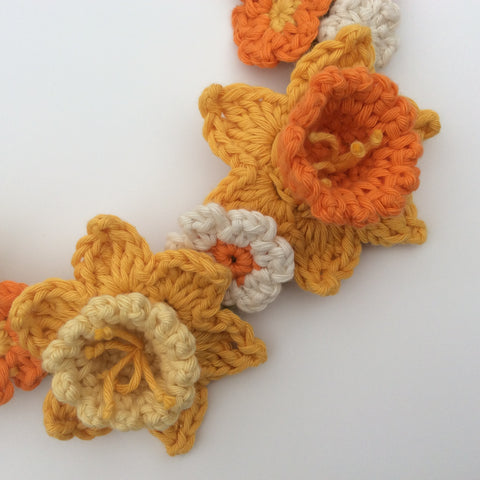
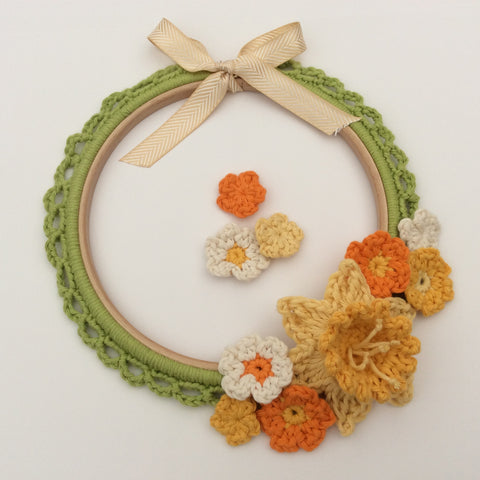
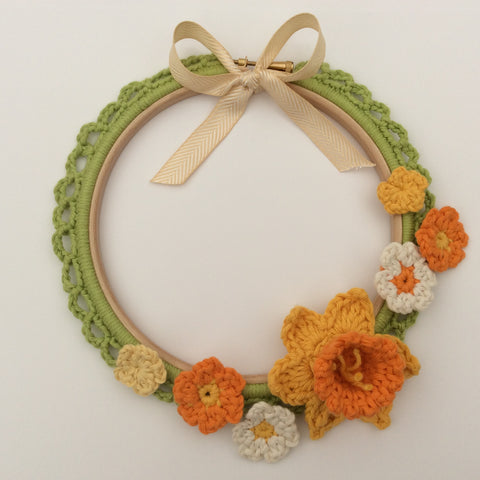
Around this time last year I created a pattern for crochet Daffodils and used them to create little wall hangings for my Mum and Godmother for Mother's Day. I also created a pattern for some little Primrose flowers too, as I was holding a Spring Wreath making workshop at Stitch Studio. Here's one of the Spring Wreaths made in the workshop.

I thought it would be nice this Spring to share the workshop as a tutorial on my Blog, so here goes.
Making the Wreath Base
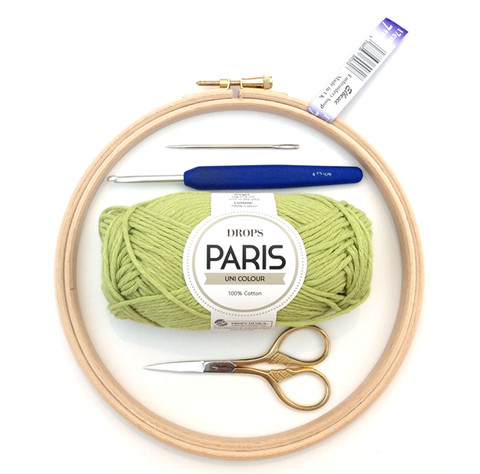
Materials & Equipment:
- 17 cm embroidery hoop
- DROPS Paris Yarn: I used Pistachio (39)
- 4.5 mm crochet hook
- yarn needle
- small scissors
(You can buy a Spring Wreath kit here)
Instructions:
 Separate the inner part of the embroidery hoop from the outside and put to one side; you will be crocheting around the outer hoop.

 Start with a slip knot around your hook.
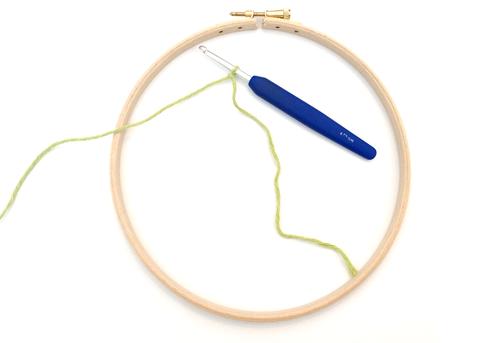
 Double crochet around the hoop as illustrated below.

 You will need to crochet multiples of 4 plus 1. (My wreath has 145 dc stitches).
 When you get to the end fasten off.

 Rejoin your yarn.

 Add the decorative loops.

 Base of wreath complete (Remember to fasten off and darn in ends).

 Replace the inner hoop and tighten the outer hoop to secure the hoops together.


Making the Flowers
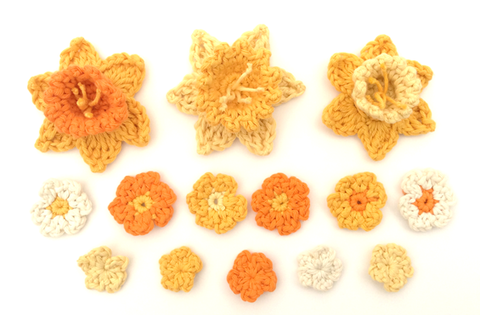
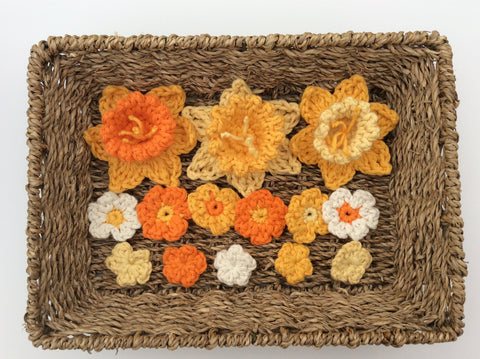
Use the following patterns to make a range of Daffodils, Primroses and Mini Flowers.The quantity you make depends on the look you are going for; I wanted to only cover half of the wreath, so I made 3 Daffodils, 6 Primroses and 5 mini flowers.
Materials and Equipment
Yarn DROPS Paris in a range of spring colours(e.g. orange, strong yellow, vanilla, pale yellow, off white)
4 or 4.5 mm hook
Yarn/darning needle
Small scissors
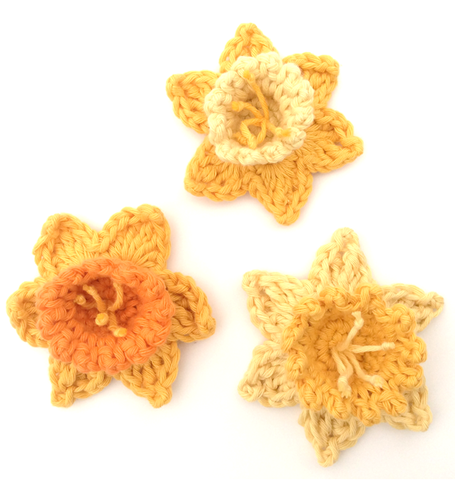
Daffodils
The pattern for the Daffodil is quite detailed so you can open a PDF file of the pattern here. (The pattern is free to open and download). For more Cotton Pod patterns please follow this link.
Primroses
Abbreviations & Notes
ch - chain
htr - half treble
ss - slip stitch
sts - stitches
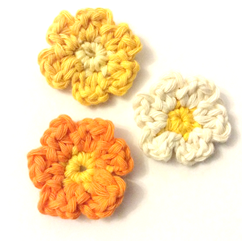
Using yarn A; Start with a magic ring
R1. Ch1, 6dc into the magic ring, pull magic ring tight, ss to initial dc. [6 sts]
R2. Join Yarn B (tie yarn B to yarn A and pull a loop up through the next stitch); *ch2, (1htr, ch2, ss) into the next stitch* 6 times. [6 petals]
Fasten off and darn in ends.


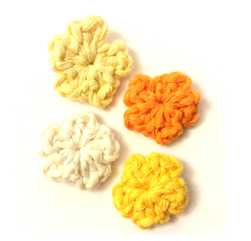
Mini Flowers
Abbreviations & Notes
ch - chain
htr - half treble
ss - slip stitch
sts - stitches
Start with a magic ring
R1. *Ch2, (1htr, ch2, ss) into the magic ring* 5 times. Pull magic ring tight. [5 petals]
Fasten off and darn in ends.


Assembling the Wreath
 One you have completed all your flowers, try different ways of arranging them on your wreath until you are happy with the overall look. I often take photos at this stage to compare and keep a record of the final layout I choose.
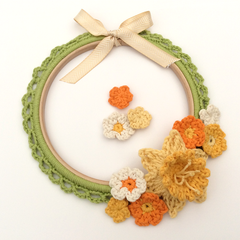
 Once you are happy sew the flowers to your wreath. You can either use the yarn you have been using, or, I find it easier to sew and to hide the stitches if I use an ordinary needle and thread.
 Attach a ribbon! Spring Wreath complete!


GALLERY


Happy Hooking!
![]()
Share this post
- 3 comments
- Tags: Daffodils, DROPS Paris, Easter, Spring Wreath
3 comments




Hermosa corona. Me encantan los colores. Haré una
Gracias esta muy bien explicado 👍
Hi Kirsty,
Thank you, I’m so glad that you are enjoying the kit.
When I do a picot stitch I aim to slip stitch into the back bump. This keeps the front and back loops free. Does this make sense?
Sharon x
Hi, loving this as a kit and I’m working up some daffodils just now. I am having difficulty with my picots. I can’t get them to look anything like yours. (ch2, ss into back of 1st ch.)
Any hints? Thanks