My Fancy Flouncy Flip Flops
Posted by Sharon Oldfield on

Come British Summertime, rain or shine I don my trusty sandals and I am content with the world. I love it when my toes are free, I feel a little more connected with the natural world when my toes can experience the elements. Although, it has to said, there is nothing nicer than pulling on a pair of cosy socks in the evening as the temperature drops. As my good friend discovered, much to her amusement, as I pulled out the thickest winter socks from my backpack to cosy my toes into after our fabulous day at St Anne's Beach Huts last week!

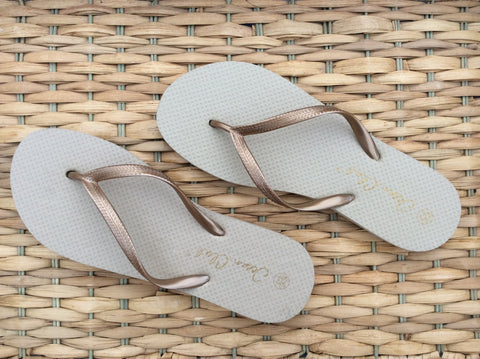
Although I love my walking sandals, and they seem to go with everything, I had been thinking of creating a little something 'more fancy' to wear on my holidays in the sunshine. Something that didn't quite have to withstand all the elements in one day, something a little more frivolous in fact. So when I found a pair of flip flops in a well known budget high street shop for just £1, a plan began to hatch.....it was a slow growing plan....I was waiting for some divine inspiration to jazz them up.
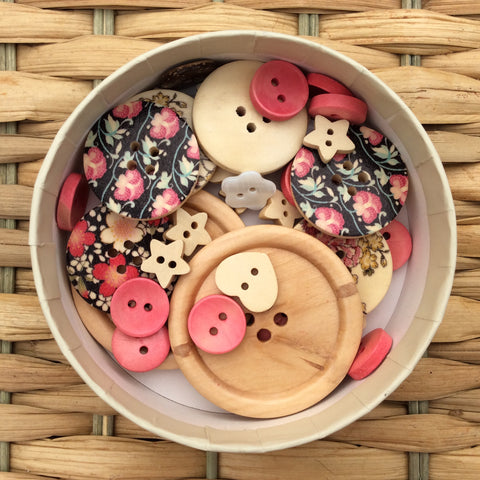
Then back in May came the arrival of this amazing Birthday gift.
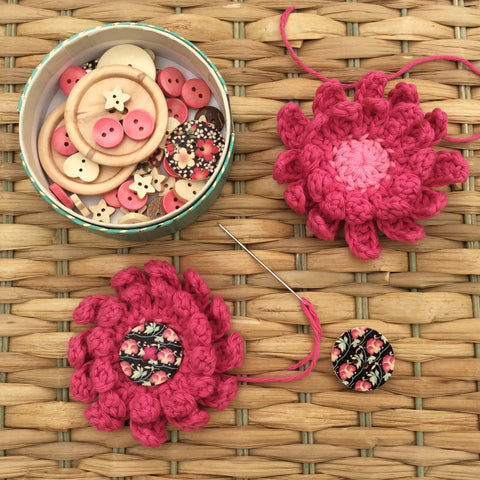
An adorable box of FABULOUS buttons gifted to me by a very thoughtful friend! This fabulous treasure box is from The Makery and contains 50 gorgeous wooden buttons.
They are very beautiful, don't you think?
One pair of buttons in the box stood out the most and I used these to inspire my yarn colours.
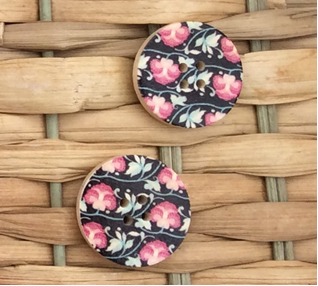
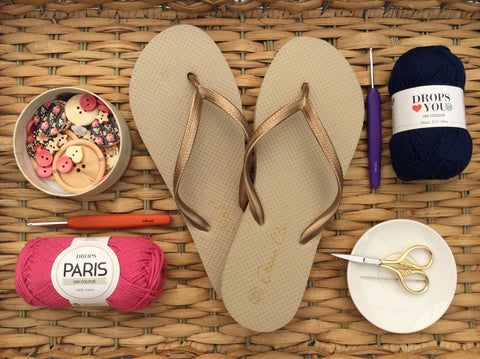
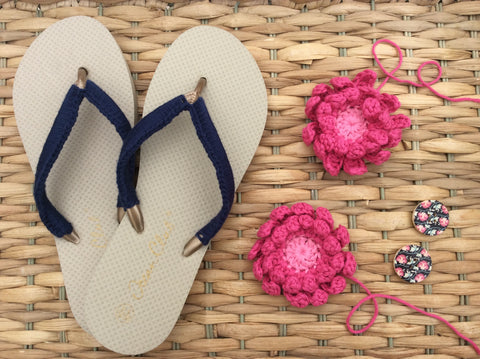
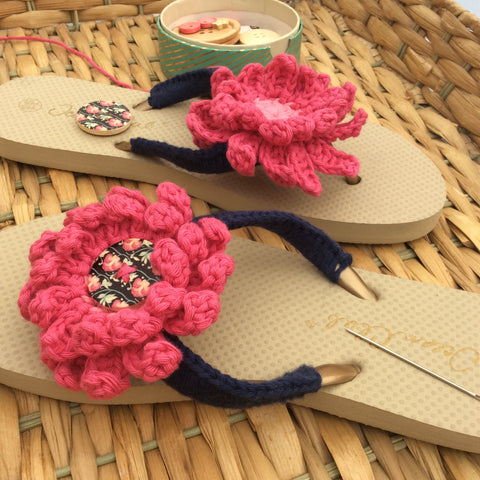
I choose DROPS Loves You 7 for covering the flips flops in Navy Blue 05 and DROPS Paris 06 shocking pink and 33 medium pink for the decorative bit.
So, with all my ingredients in place I just needed to work out how to bling up my flips flops, to make them extra special.


So here's how I did it, in case you would like to do this project too:
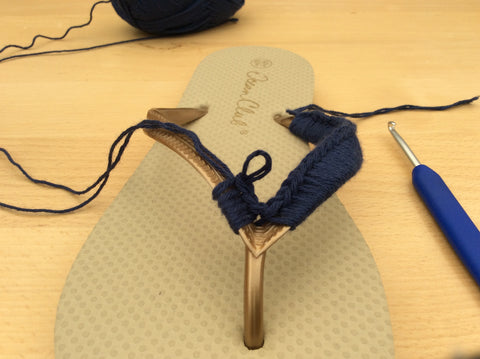
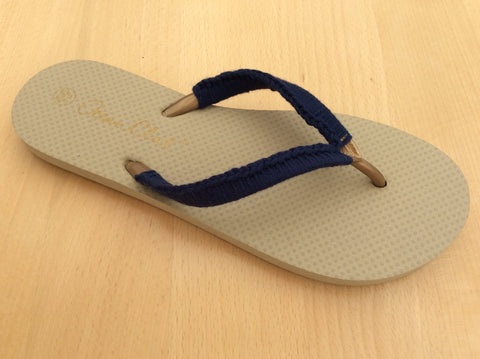
 I started by covering the flips flops first, using dc stitches (UK dc). I used DROPS Loves You 7 because it is a fine 4 ply yarn. I did not want a bulkier yarn as I wanted my foot to still fit inside the flip flop comfortably.
 Holding two strands of DROPS Loves You 7 yarn together, start with a slip knot on your hook (4.5mm), then dc around the flip flop thong. Keep your tension as tight as possible. Continue adding dc stitches, keeping your stitches close together. It is a bit awkward at first but you soon settle into a rhythm.
 At first I put the hook under the flip flop thong to yarn over and bring a loop up, ready to complete the dc stitch. Then I found it easier to move the yarn under the thong and over the hook and back again before the final yarn over and taking all the loops off. This way you keep the hook still, allowing the tension to keep tight.
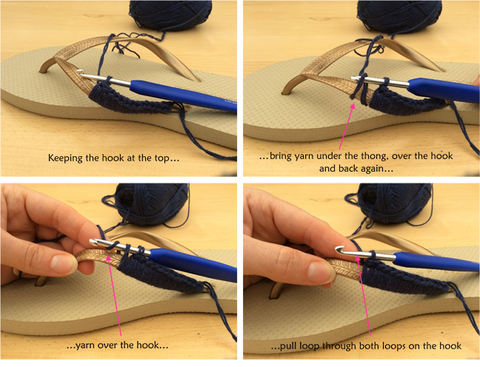
 Here's a video to demonstrate
 When you get to the toe - crochet as close to the centre post as possible. This is for comfort later on rather than aesthetics, as you will eventually cover this bit with your chosen decoration. Then simply switch across to the other side and continue to dc along until the end. Darn in those pesky ends!
Now the really exciting bit!
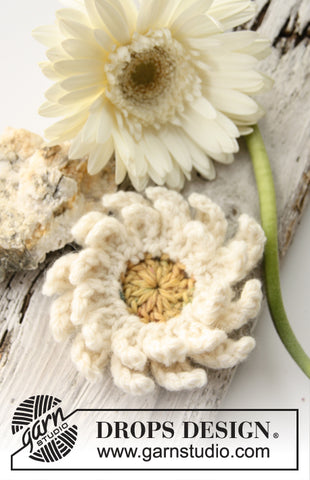
 I had been looking for a while and experimenting with the perfect flower/decoration to go on the front of my flip flops. I eventually found this pattern and felt that the flower would be flouncy enough for my 'fancy flip flops'.
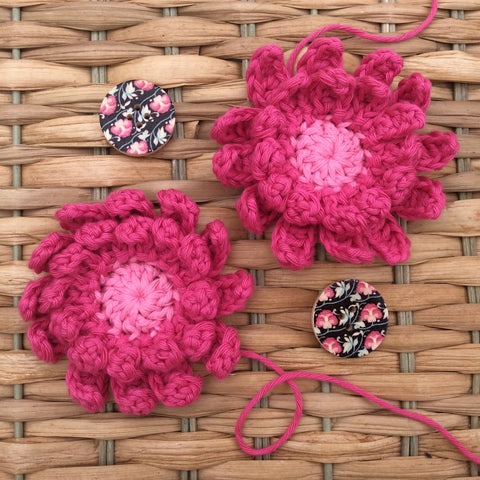
 The pattern was easy enough to follow, I decided to use a 4mm hook to increase the tension and thus allow my flower petals to curl up a little at the ends...this effect depends on your tension, I generally crochet loose, so had I used a 5mm hook with the Paris the petals would have laid flatter, not the look I was looking for in this particular project. I was aiming for more of a Dahlia look rather than a flat Gerbera look.
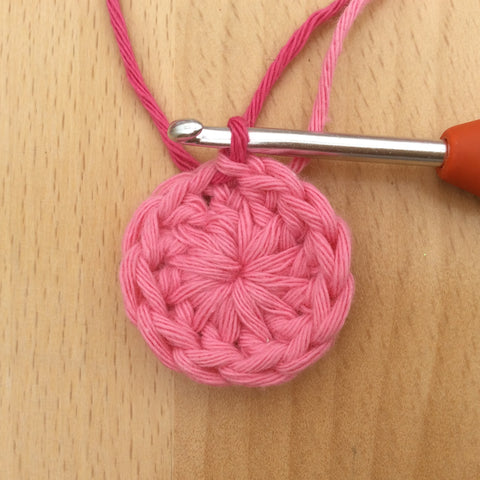
 Even though I would be hiding the centre of my Gerberas with a button I made them with two colours (DROPS Paris 33 medium pink and 06 shocking pink), this way I could share a handy hint about changing colour at the end of a round. So here it is....at the end of round one, remember to change colour during the yarn over of the slip stitch, you get a much neater colour switch this way. Simple, but much neater than changing it during the first stitch of the petal.
 The second row is crocheted into to the front loops only. At first this seems a little loose and unsightly, this settles down on the second row of petals when you start to crochet into the back loops.

 Instead of slip stitching to the front of the work at the end of the petal round (R2) I pulled my slip stitch to the back....then continued with the next round of petals. I find this a neater way of finishing the round and the hook is exactly where you need it ready for the next round.
 Here's a video to demonstrate
 Once the second round of petals are made you can slip stitch to the back again to bring your yarn to the back of the flower and fasten off. Remember to keep your yarn end long enough to sew your buttons on with.
 Once you have your flip flops covered and your flowers crocheted, it's time to sew everything together!
 Sew the buttons on first using the yarn end.
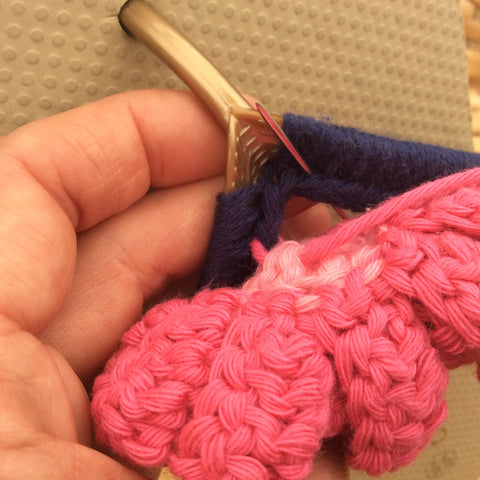
 Sew the flower to the flip flop.
 I sewed into the top of the double crochet stitches.
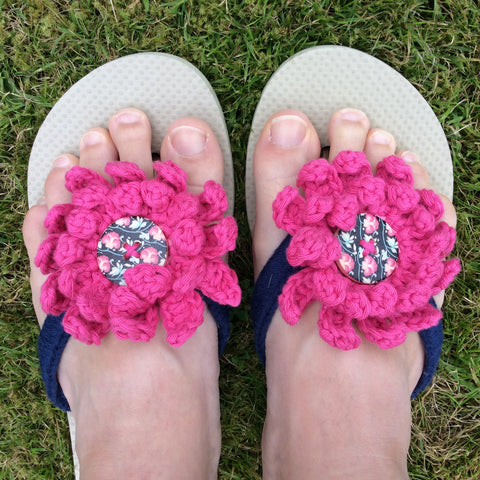
 That's it...here they are my Fancy Flouncy Flips Flops!


Now I am ready for my holidays!
Happy Hooking Everyone!


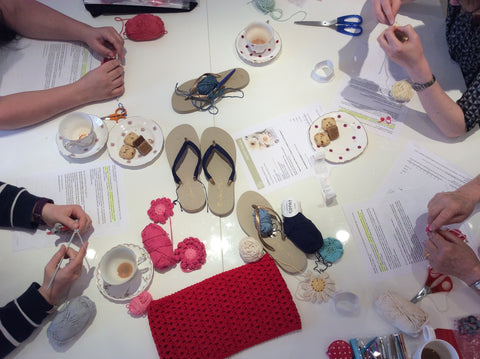
 Here we are at Stitch Studio at my Flip Flops Workshop, drinking tea, eating biscuits, chatting and making fancy flouncy flip flops! Facebook Link - Stitch Studio.


 Hope this inspires you make your very own Fancy Flouncy Flip Flops. If you do please hop over to Facebook and share your pictures! We love to see your makes too!

 Footnote:
Apologies for the refocusing of the videos, I need to set up my tripod and camera next time as the iPad likes to refocus all the time!

Share this post
0 comment

